설명
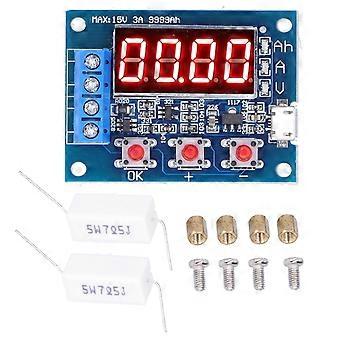
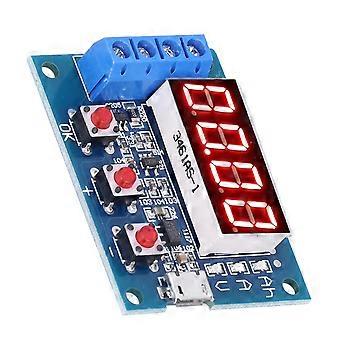
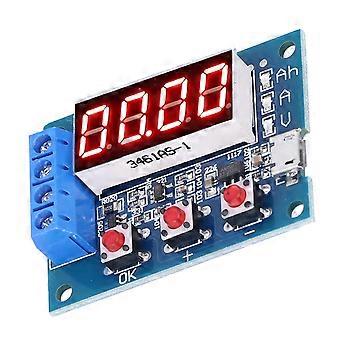
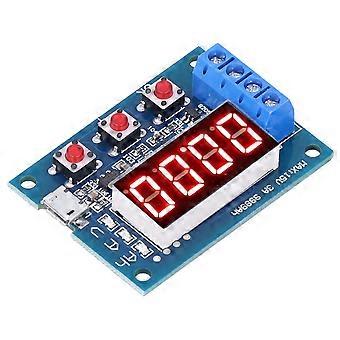
Battery Capacity Meter LED Discharge Tester Monitor for 12V 18650 Lithium Batteries DC4.5?6V
Item Type: Battery Capacity Meter_x000D_
Power Supply Voltage: DC4.5-6V (micro USB interface)_x000D_
Working Current: No more than 70mA_x000D_
Discharge Voltage: 1.00V-15.00V, resolution 0.01V_x000D_
Termination Voltage Range: 0.5-11.0V_x000D_
Support Through Current: Maximum 3.000A, resolution 0.001A_x000D_
Maximum Error of Voltage Measurement: 1%+0.02V_x000D_
Maximum Error of Current Measurement: 1.5%0.008A_x000D_
Maximum Battery Capacity Range: 9999Ah (1Ah=1000mAh) when the value is large, the decimal point is shifted to switch, when it is lower than 10Ah, it is displayed as X.XXX, when it reaches 10Ah or more, it is displayed as XX.XX, and so on._x000D_
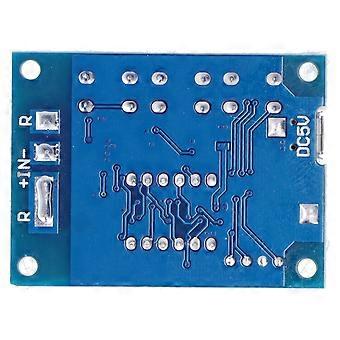
Circuit Board Size: Approx. 50 x 37mm / 2 x 1.5in_x000D_
Equipped with Resistance Estimation Method: _x000D_
Estimate the resistance value according to Ohm law. The battery voltage is divided by the expected discharge current. The resistance power selection is the battery voltage multiplied by the expected discharge current. The result is more than twice. Ensure that the current cannot exceed 3.0A at full voltage! For example, if you need to test a 12V battery with a 2A current, the resistance needs to be 6 and the power is 50W. The full voltage of the new 12V battery is about 13.5V. At this time, the corresponding maximum current is 13.5/6=2.25A, which is less than 3A, so it can be used. In addition, if you use a bulb test, the maximum current can only be half (1.5A), because the cold resistance of the bulb is very low, and the starting impulse current is very large. If it is selected too large, it may directly burn the circuit!_x000D_
Error Code and Meaning:_x000D_
Err1: The battery voltage is higher than 15V_x000D_
Err2: The battery voltage is lower than the set termination voltage_x000D_
Err3: The battery cannot withstand the load discharge current or the internal resistance of the circuit is too large_x000D_
Err4: Excessive current (current exceeds 3.1A)_x000D_
Secondary Calibration Operation:_x000D_
Press and hold the three buttons at the same time to power on the tester and enter the calibration mode. First, display the number of calibration records and then enter the formal calibration sampling program to display 0u0A. At this time, short-circuit the positive and negative poles and press the OK button to complete the display J10u, and enter the input Apply 10.00V standard DC voltage between the positive and negative poles and press the OK button, and then J2.0A will be displayed. Apply 2.0A constant DC current to the output negative (inflow direction) and input negative (outflow direction) and then press the OK button. Complete the calibration. The tester will pre audit the calibration data. If the calibration data is reliable, 4 calibration numbers will be displayed in turn and then exit. If the pre audit finds that the data is not reliable, the data will be discarded and exit.
-
Fruugo ID:
310162072-693870530
-
EAN:
7802825329099